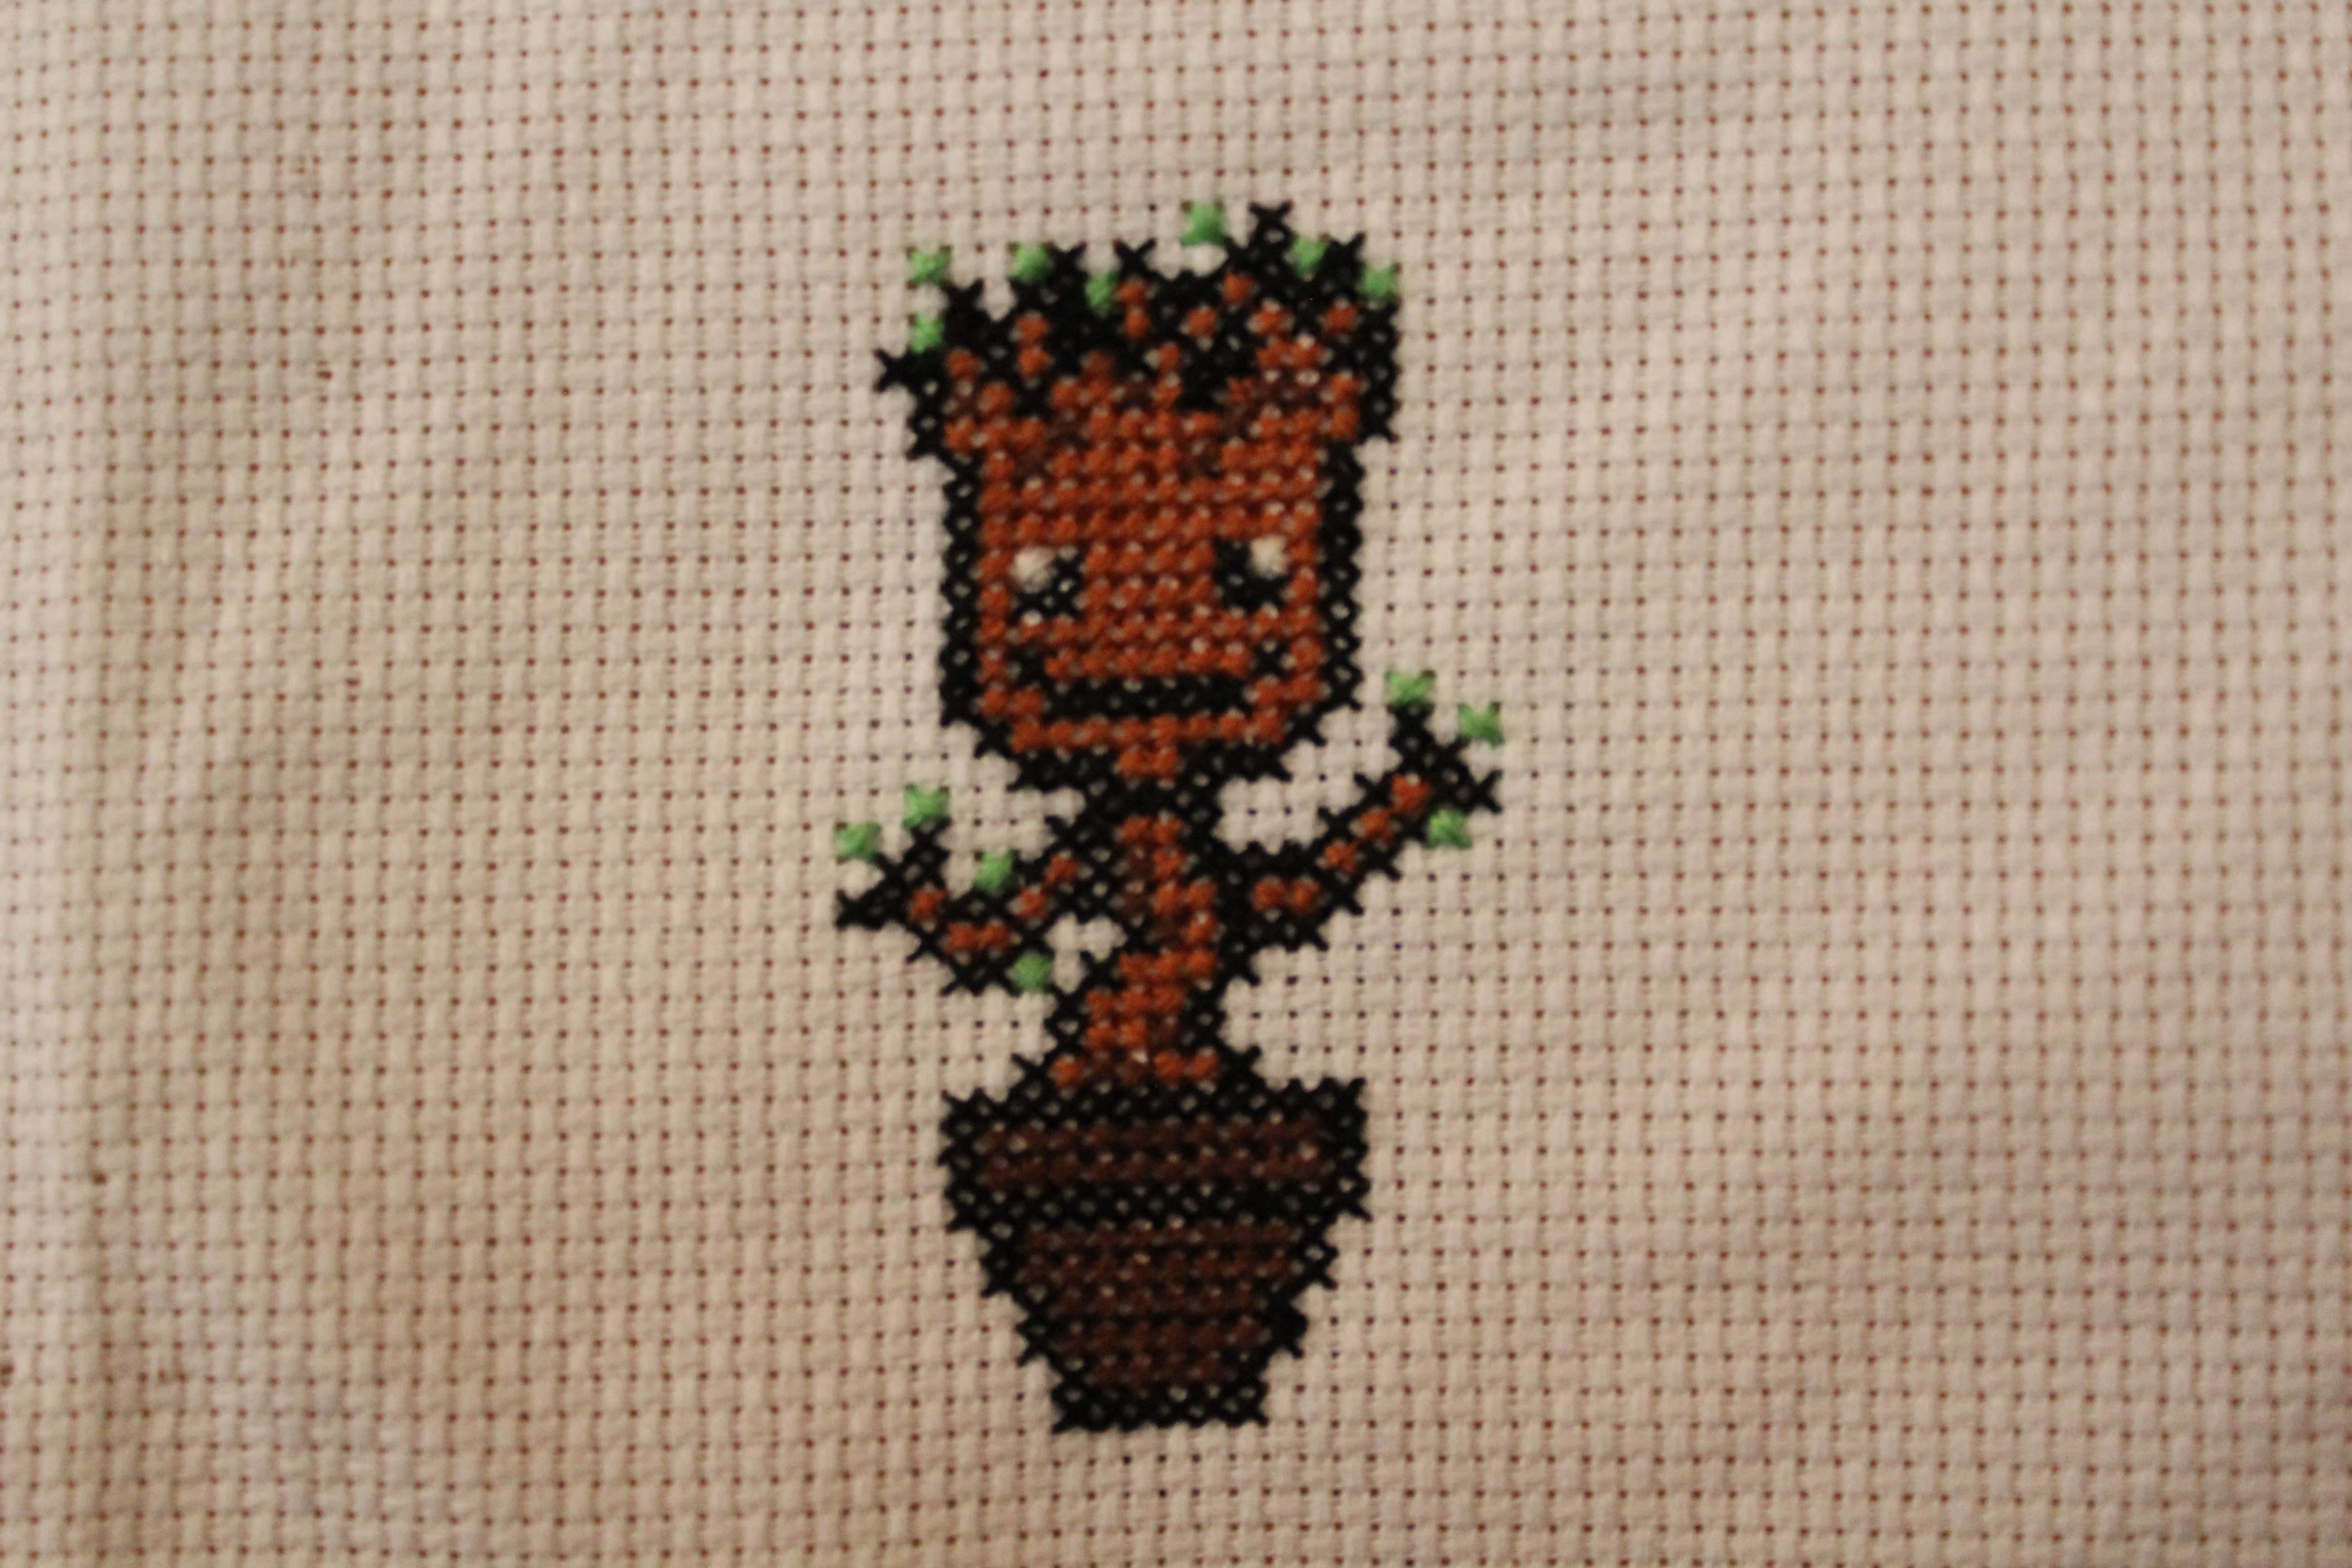
GET STARTED with simple little stitches!
Where to begin!
Choosing your first design!
I would choose a free design of something that you really enjoy. The more you like your first design the more likely you are to perservere and finish it and go on to make more!

While the initial design doesn't have to be simple, I would avoid a design that is way too difficult or one that varies from the simple cross stitch format. For a first design, google cross stitch patterns of your favourite TV show or movie. The cross stitch community is huge and I can almost guarantee that someone has already designed multitudes of amazing layouts for you to try.
A good idea for your first designs/patterns would be quotes from TV/movies or perhaps a favourite famous saying or proverb. There are plenty of free license cross stitch fonts online so that you can take letters and rearrange them into your quote! Pinterest is an almost limitless resource for inspiration and helpful blogs!
Be warned! Some patterns will cost money but many are never more than five euro a pop and it is worth paying for a design you love which you will be able to display proudly in your home!
Check out the Design page on this site for info on where to go from here!
Gathering Materials
If you go to the Materials page on this site you will see a full run down of all the necessary materials and information regarding your choices.
Starting a project
So you have your materials ready and your design ready to go! Where do you go from here?
What length of thread is appropriate? Take your thread and measure on the inside of your arm from your finger tips to your elbows. Roughly 18 inches. This is the optimal length of thread that minimizes the risk of knots and tangles!
Now you must decide how many threads you wish to use to get decent coverage. 2 threads are enough for a 18 count material but I would suggest starting with 3 threads combined. You can seperate the threads without making any knots by seperating them individually and combining them again later on. If you choose one strand from the bunch of 6 you can pull it gently out while firmly keeping the 5 remaining together. It should slide out easily. You can combine the threads back together as you had planned and you are ready to start stitching.
The next step is to begin stitching. I have heard of the 'loop method' online (and you may find that easier) but I stick with old fashioned method of tying a knot at the end of my threads. Once you have a knot that cannot pass through one of the materials holes you are good to go! Make the stitch in an 'x' shape going diagonally through each hole to make the shape.
You have started stitching at this stage and its coming to the end of the thread. Now you must tidily tuck the thread you have left through the stitches on the back of your material. This can seem the most tedious exercise but you run the risk of unravelling your designs if this is not completed properly.
So you have learned how to start and stop your stitching! This is something that will take practice but once it is second nature you will be able to focus more carefully on elaborate patterns.


